To screen or not to screen, Print is the question?
Posted on February 22, 2016 at 2:30 PM
Throughout the Bags of Ideas website we make references to many types of printing for your promotional bags, but chances are, not everyone knows what the difference is, or what is best for them.
Now your questions have been answered – below is the definitive Bags of Ideas guide to printing techniques that we offer, and when they are best. Go on, have a read – we have even thrown in some videos to make things more exciting!
Screen Printing
Screen-printing is the most common method of branding within the promotional industry. It’s a great method that started out as a manual process, but now, in many factories, its completely automated, which makes it even more efficient, and means we can deliver your orders quickly.
The Method
As with all printing, we start off with a logo – this is always better if it is a vectored file (means we can adjust the size without pixilation). This is loaded into the relevant software – and is printed onto what are called transparencies.
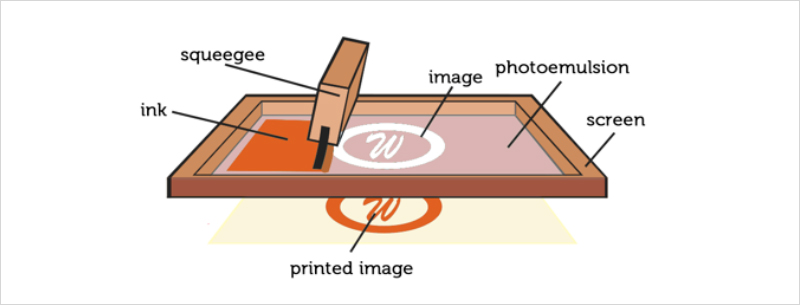
Next the screen is coated in an emulsion on both sides; the logo is applied, and then placed under a halogen light. The heat of the halogen hardens the emulsion, and burns the logo.
The screen is then washed to reveal the logo – this part of the film has become thin enough to allow the ink to pass through.
Now you are good to go – the screens are placed in the machine, colours mixed, and the printing can begin.
The logo is printed by using a squeegee; this runs along the screen, pushing the ink through then onto the bag underneath.
If there were a large number of bags to print, we may opt to create more than one screen, and use more than one printing head in order to speed up the process. Depending on the factory, we could have five or ten printing heads running at any one time. Also, if the logo has more than one colour additional screens are required as they only allow for single colour use.
After each colour is printed the bags would then be dried, before being packed.
Below, the video goes a little further into the details of the stages.
Why Screen
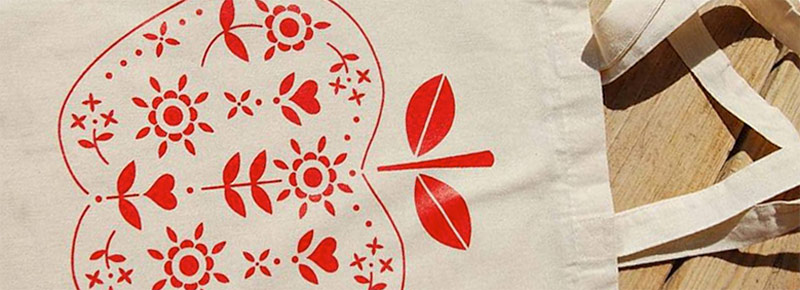
Screen-printing should be the first port of call for branding – it’s a tried and tested method, which gives a long lasting, clean and professional result.
It lends its self better to spot colour printing, as opposed to logos with gradients – though they can be achieved, there are other methods better suited.
Screen-printing is also the most cost effective method of printing, even if a large number of colours are required. Also, in some cases (always worth checking) the printers will keep the screens, so repeat orders will come at a reduced rate, and you can be guaranteed the same logo as before (size and placement).
Screen print also allows you to do large prints – the whole side of a bag, without an increase in cost. Generally speaking a screen is around 30x30cm – and any size logo within that area will be the same price. Some other methods of printing use such a vast amount of ink, that a small increase in logo size will push up the price – this is not the case with screen-printing.
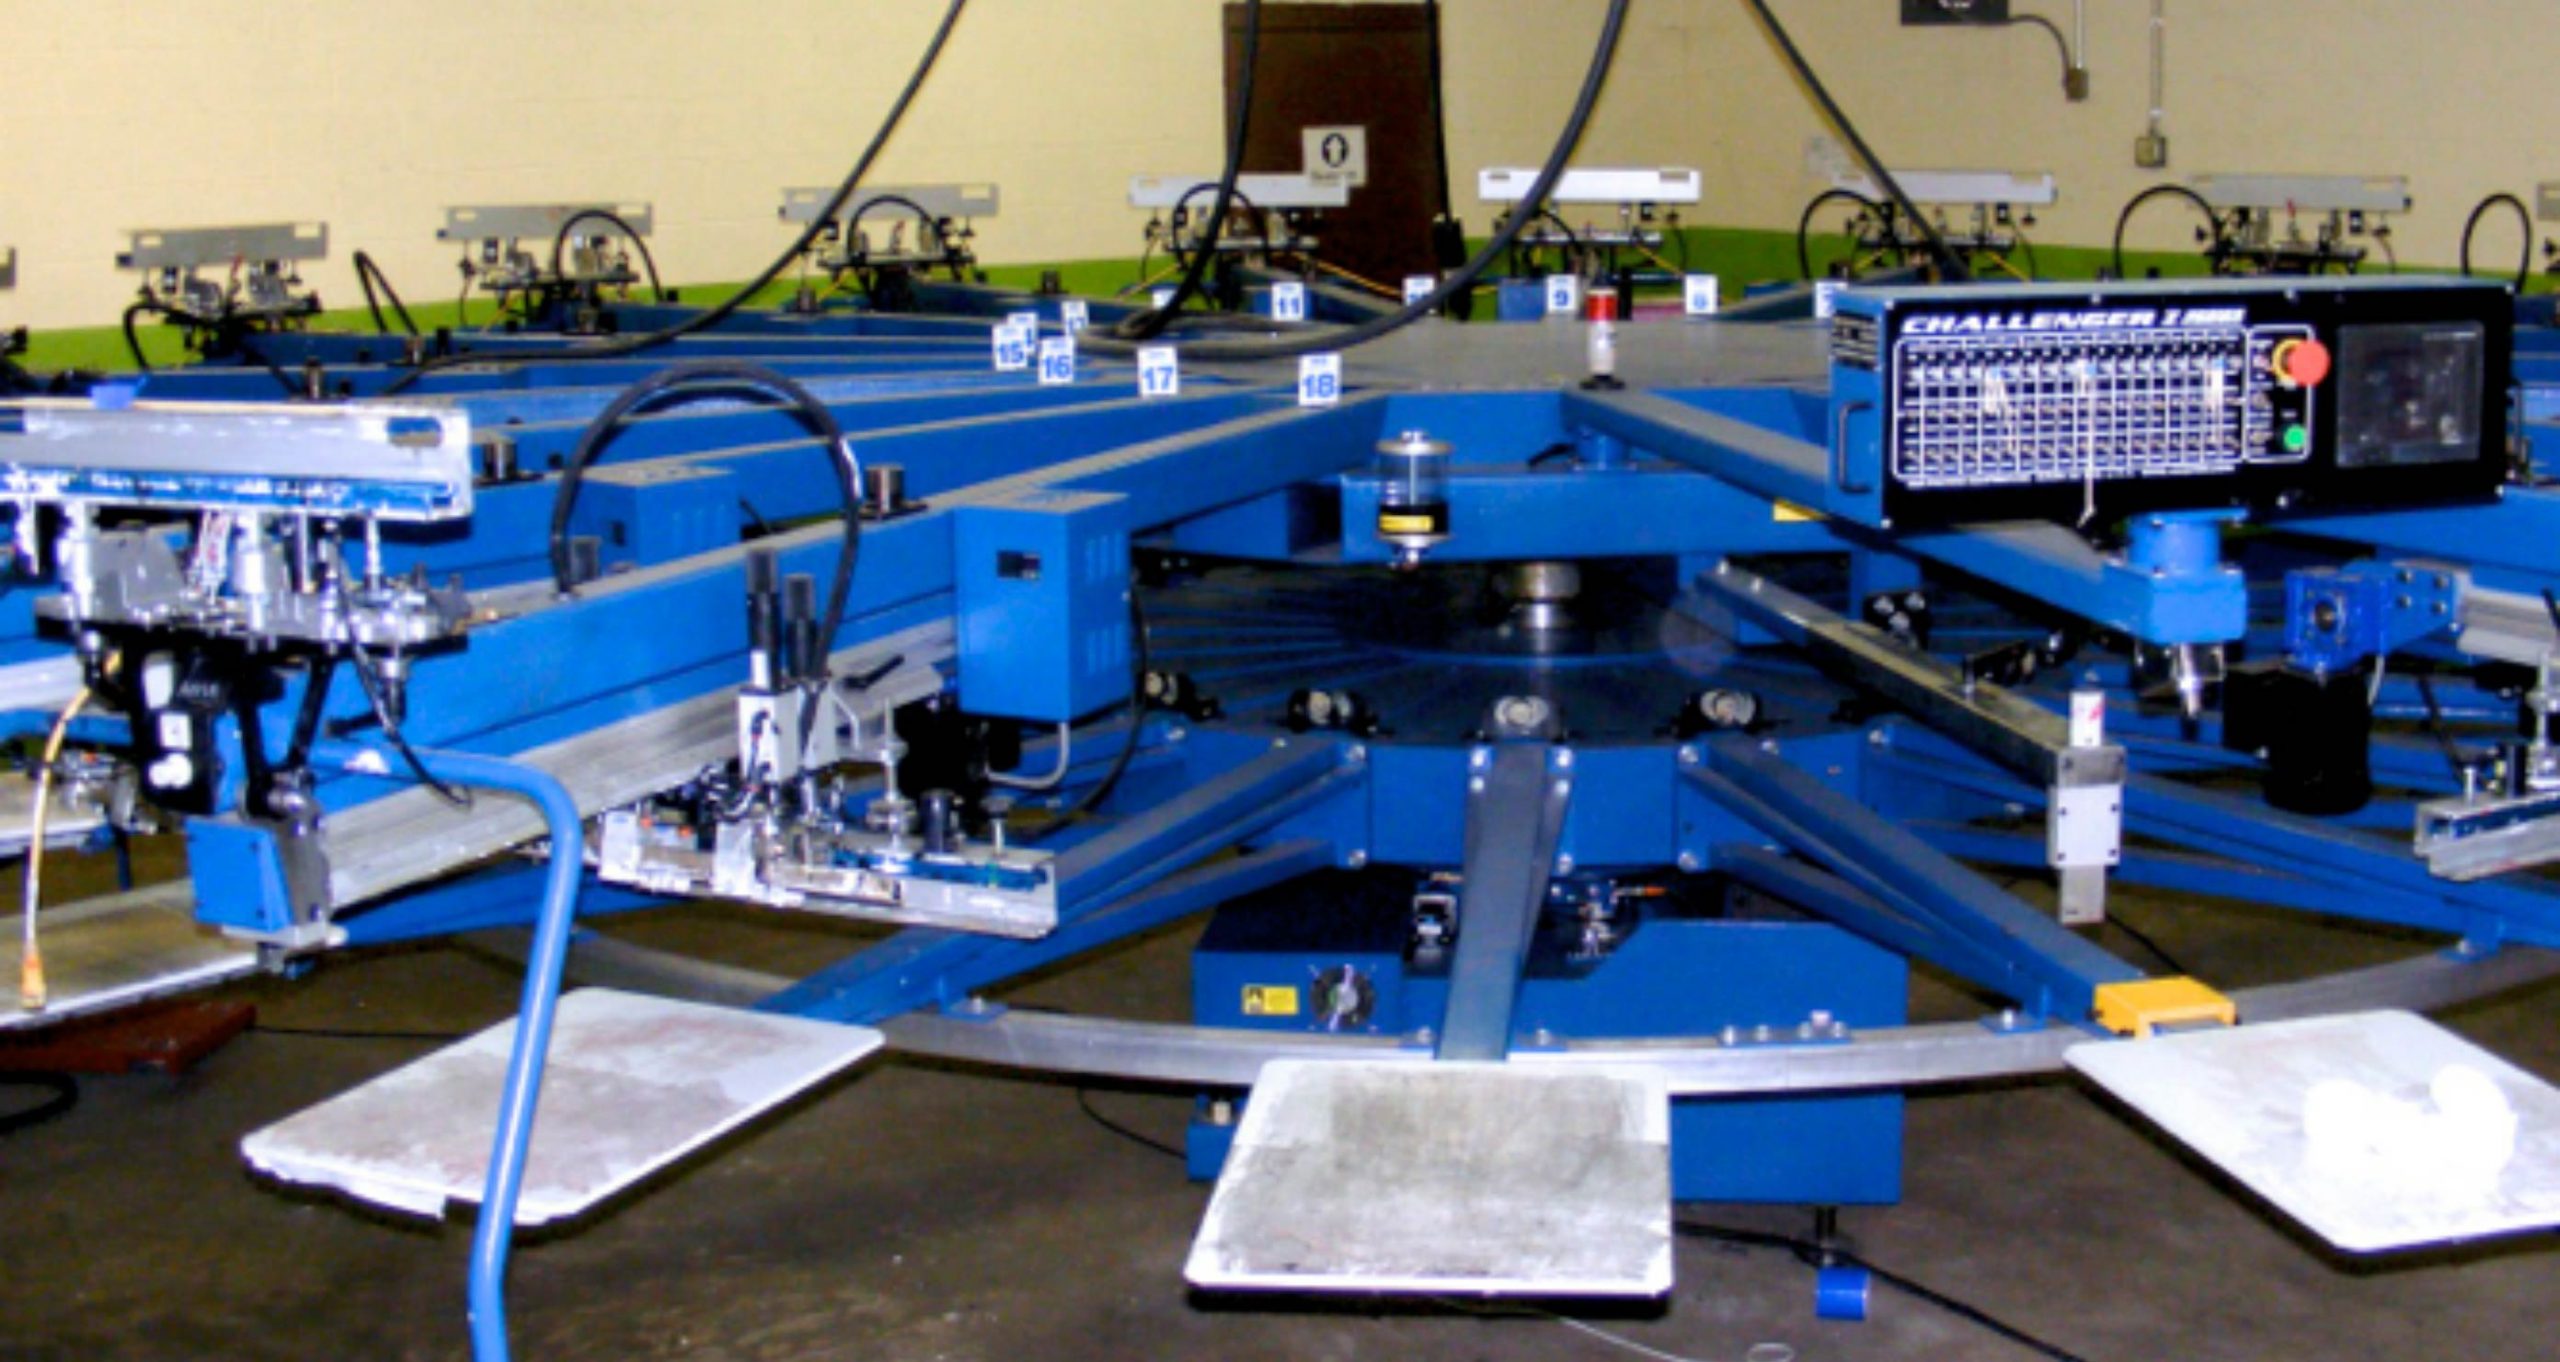
Screen printing automation has also come a long way, and now with machines like the below, you can brand irregularly shaped products fast:
Finally screen printing offers the best colour match when trying to achieve a dedicated pantone, unlike a CMYK print, which maybe be close, but cannot guarantee it.
One downside to Screen printing, is that for small runs of items it can be a costly method, due to the set up charges involved. But, this would only be for the first order – as once the screens have been made, they can be re-used for exact repeats.
The comparatively large screen charges also means pre-production samples (PPS) will be costly – though most companies will deduct the cost from the bulk if you proceed.
As a rule of thumb, factories will maintain the screens for between 6 months and 1 year, after which they may be recycled. It’s always worth finding this out, and also the screen policy – sometimes repeat orders will have half price screens, other times they are free, and in some cases, but less frequently, factories do not save them at all, so the charges will apply every time.
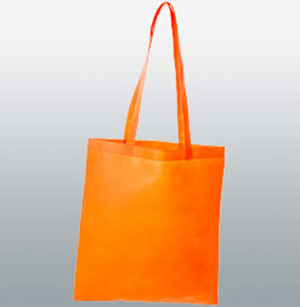
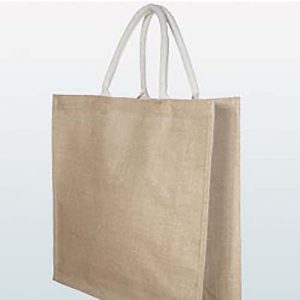
Recommended Products For Screen Printing:
Transfer Printing
Transfer printing is another popular method for promotional bags. As the name would suggest, the logo is essentially a sticker that reacts to heat in order to seal the transfer to a surface.
The Method
As it stands (as far as I am aware), the method for transfer printing has been the same for a very long time – though there are now some presses are automated.
A logo (or design) is required, as with all of the methods I will discuss (you can’t print without a logo). But for this method, the logo is printed early on, and later applied to a bag.
Look below; a mid sized industrial printer, which will print the desired amount of logos on to vinyl sheets, and cut around the design, where required (this can be programmed).
Most of the time, the logos will be printed as if they have been flipped- so when they are applied to the product they end up the correct way.
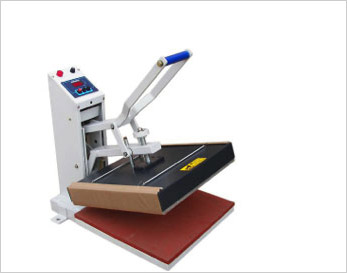
In order to get that logo or design onto the bag it should be placed in the heat press, and lined up. Markers should be made to ensure all products are printed in the same place.
The logo should be lined up, the heat press set to the correct temperature and a sheets of greaseproof paper (or similar) over the top (this will protect the product from burning under the heat).
Then its all systems go – bring the press down manually for the allotted time; once the time is up – lift! Hey presto – a printed bag.
This is then repeated for all items. Press, Lift, Repeat…
Have a look at the below video to give you a run through of the transfer print process.
Why Transfer
Transfer printing comes into play for various reasons.
It could be that screen-printing is not possible due to the type of product, for example, a baseball cap – it just will not work.
The next big selling point for this method of printing is the colours – if the logo, or image you have is full colour, screen-printing may not work, or be very costly due to the set up charges.
As transfers (the majority anyway) are printed digitally, up to full colour, you can achieve the intricate detail of a team crest or even a photo on the bag with no extra costs involved for the amount of colours used.
Another huge plus is that the process enables you to do smaller print runs. The time involved in creating a screen, there is a fixed cost. With transfer printing, in most cases, there is not one. It also means that the cost for a PPS would be low too, so if you wanted to see the finished item before you ordered the bulk, it would be affordable.
As with any method, there can be drawback and limitations.
If you have a large print run, transfer printing may not be the most cost effective solution; due to the manual element of the process, the unit costs do not drop as much with an increase in quantities, meaning you could be paying a lot for your bags.
If you opt for a digital transfer, you should also know that pantone matching would not be guaranteed; if your company has strict guidelines on the colours, this may not be the best option for you.
You should also note that the size of the design would affect the price – the bigger it is, the more it will cost (unlike a screen print on the whole); if you are dreaming big with the design, be prepared to pay for it.
Lastly, remember a transfer is a heat-sealed sticker. There are good vinyls, and there are others that are not– in the latter case, the finish may be too obvious for your tastes (look too much like a sticker, make the bag too rigid). Always get a sample to clarify the finish before you proceed with the bulk to make sure you are happy with the final result.
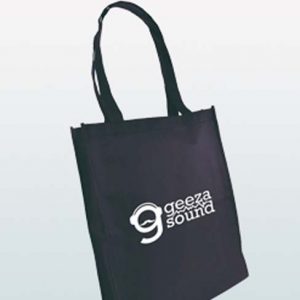
Recommended products for transfer printing
Dye Sublimation
Definition of Sublimation: Comes from the Latin sublimare: Raised to a higher status. In chemical terms this refers to a solid becoming a gas without entering the liquid phase.
Dye sublimation printing, or dye-sub for short, is almost identical to transfer printing in terms of process. The only difference is what the heat does.
Method
The method is the same as transfer printing – the only differences are 1) the paper being used 2) the inks being used.
Rather than the heat creating an adhesion (transfer), a different chemical reaction takes place called sublimation. The ink from the paper turns into a gas with the heat, it then permeates the surface of the product (bag, t-shirt etc.), on impact it then reverts back to its solid state – the technology behind sublimation is that it does not become a liquid, this is what allows the process to occur so neatly.
So rather than a transfer (sticker), the ink is within the fabric itself.
Why Sublimation
Some of the benefits are similar with a transfer too. No screens are needed, full colour images can be created with ease, and small runs of product can be made.
On top of this, you have the added benefit of having a full colour image, without the sticker element, which can be off putting with transfer printing.
As the ink is within the garment, you get that extra bit of durability; it lasts, unlike a transfer which has the risk of weathering, or peeling.
The best benefit to sublimation is the flexibility of the process; it doesn’t just work on fabrics – it can be used on almost anything, from mouse mats & mugs to plates & phone cases.
You are also not limited to size – you could sublimate a logo onto a t-shirt, or an all over design on a vest – you are only limited by your imagination (and the size of your printer)
Sublimation print has some limitations too. The most obvious one is that the clarity of the print is not as crystal clear as can be achieved with other methods. And the clarity can vary form material to material.
As with transfer printing pantones cannot be guaranteed.
And, as the method is the same with transfer printing, pricing does not fall rapidly with quantity. It’s a time consuming task that needs to be done by hand in most cases; I have seen some machines that do the pressing element, however, it still requires a huge amount of human involvement.
Also, as the size of the design increases, as does the price, with the increased materials, such as the paper and ink.
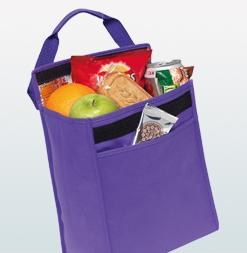
Recommended products for sublimation printing
Direct to Garment (Digital)
Direct to garment printing is a great method, which couldn’t have come sooner to this industry. It is still a method that isn’t available everywhere, as the investment into a good DTG (direct to garment) machine is high. But it can achieve some very impressive results.
Initially these printers were not designed for printing on t-shirts or bags; they were designed for paper, but adapted to accept a garment. It meant they could only print on white, and also, many printers had issues. Companies would put thicker inks through nozzles that were not designed for these inks, and the maintenance got very high, and the results became too varied; DTG became a difficult offering for a business to maintain.
The printer manufacturers realised people were adapting their machines, and created printers for the purpose of printing fabrics, allowing more ink flow and thicker inks, this then opened the doors to the DTG printing in the promotional industry, and allowed people to diversify their portfolio without the inefficiencies previously experienced.
The Method
Printing direct to garment is similar to printing a document or a picture from your computer, and using a manual feed. Other than placing the item into the printer, the machine does the work.
First artwork is received from your customer, and set on the computer. The item you are printing will then be pre-treated (a solution sprayed onto the print area), this is then locked into a jig (see below) and fed into the printer. Some printers will only take one item; others have been adapted for industrial use and will accept a larger number at once.

You then press print – and like your home printer, the garment or bag will be moved through like a piece of paper, being printed along the way.
That’s it – your bag is done. Have a look at the video below to emphasise how simple it really is.
Why DTG
DTG has numerous benefits as a printing method, and really has revolutionised the possibilities available to the promotional market and retail brands. Prior to this the options were screen-printing, transfer and dye-sub for full colour designs on fabrics, all of which had their limitations.
DTG has developed into a hassle free way to get a great result with a full colour image on fabrics.
The detail that can be achieved on a fabric with this technique allows the most intricate images to be printed. The results speak for themselves.
Not only is the quality of print high, the process is simple – there are no screens, or printing of transfers or setting up of heat presses, it’s all digital. The bags are simply put in the jigs, in the right place (of course!) and the green button pressed.
This of course means that creating a pre production sample is straightforward too; it can be done quickly, and without the large expense of a screen-printed sample of a full colour print.
This isn’t the fastest method of printing, but all in all is less time consuming that Dye sublimation and Transfer printing for full colour designs.
Of course, with everything, there are cons.
With DTG the first issue you may come across is the artwork; the method of printing is so detailed that your artwork may appear different to what you see on the screen, as the printer picks up on details the eye cannot see.
This is solvable; if you work with a good art team (like ours), they will always do a test print to see the result. If adjustments need to be made, they will be, and tests carried out until the desired result is given. But this can be time consuming.
With this in mind – always request a pre-production sample, just incase your artwork is not as it seems.
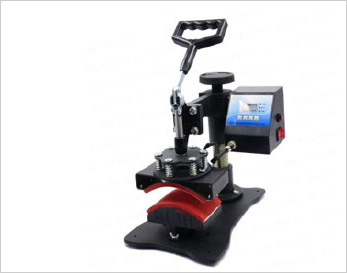
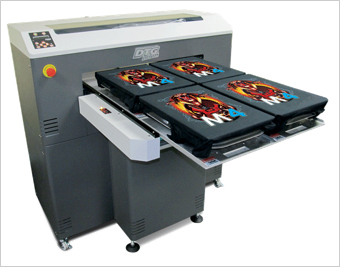
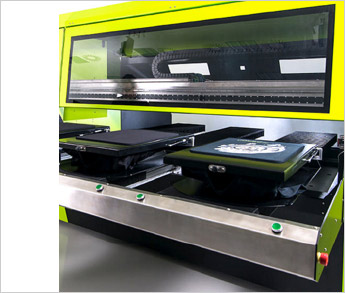
There are also limitations (depending on the machinery) as to what can be printed. The surface has to remain flat for printing, and the item has to be able to go through the printer. If you compare the 2 images below – one printer has a limited space, where the other has an adjustable platform, allowing larger items, like a rucksack for example, to be fed through.
Depending on your design, it can become a costly method. It is a process which uses a lot of ink, more so than sublimation or transfer printing. The bigger your design and the more colours involved, the higher your cost will be.
Pantone matching cannot be guaranteed, as with transfer and dye-sub.
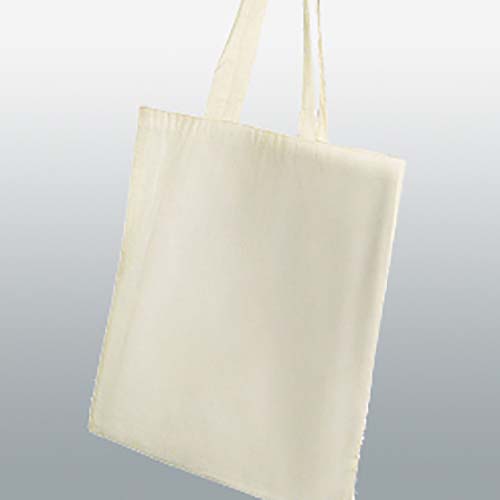
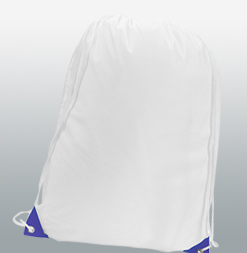
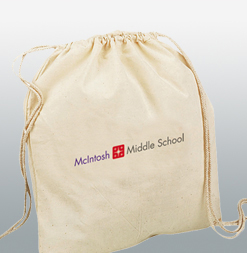
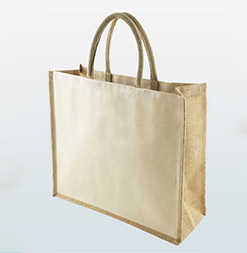
It is also advised that your use a good quality fabric to get the best results. The tighter the weave, the sharper the image. For example, I would not recommend DTG on a jute bag; a cotton bag like this on the other hand is ideal. This can mean to get the best result; you may have to use a more expensive fabric for your bag.
Recommended bags for DTG printing

So there we have it – your printing options explained. In the next blog we will look at alterative branding methods for bags, if printing doesn’t quite cut the mustard.